Rendering individual walls
Wall Rendering Rotherham: Gable Ends, Extensions, Garages
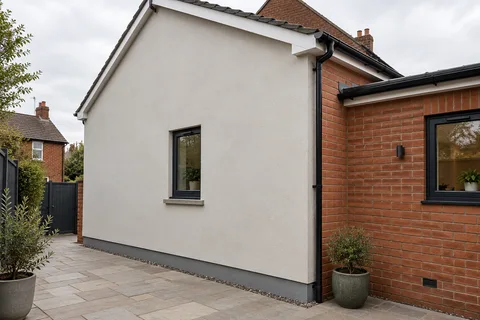
Not every job is a whole house. A weathered gable at the end of a terrace, a new rear extension, a garage, or a side wall where the brick faces have started to flake can each be rendered on their own. One wall is quicker than four, but it has more edges for its size, and the edges are where water finds its way in.

On this page
When rendering one wall makes sense
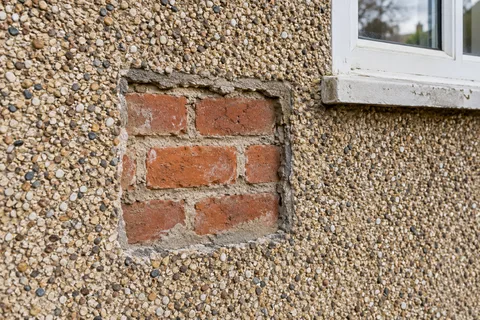
Brick that is spalling on a single exposed face, a gable that lets rain through in driving weather, or new blockwork that was always meant to be covered are the usual reasons. If the other walls are sound and you are happy for one face to look newer, rendering just that face is a sensible, contained job. If the rest of the house is rendered and failing too, pricing one wall at a time tends to leave mismatched finishes and repeated scaffold.
For example, on a hypothetical end-terrace with a soft-brick gable facing the prevailing weather, the gable alone might be rendered while the front keeps its brick. The render would stop on beads at both front and rear corners, with the coping or verge above checked so water runs clear of the new face.
- Set the edges Decide where new render stops against brick, stone or an existing finish.
- Prepare the background Remove loose material, repair masonry and prepare suction and surface key. Existing paint needs a specified removal or alternative treatment.
- Base coat Built up to level the wall, with mesh where backgrounds change or crack.
- Finish Matched to the rest of the house or chosen as a deliberate contrast.
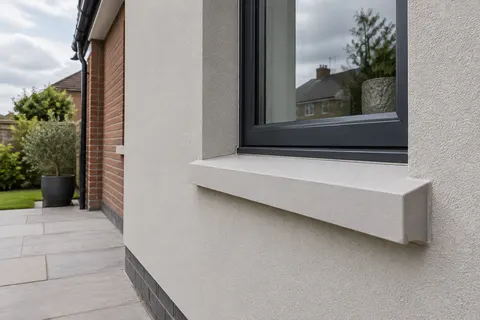
- Shed the water Copings, sills and the base bead keep rain off the top and away from the bottom edge.
The usual order of work. The survey and the chosen products decide the actual steps.
Sand-and-cement, explained
Sand-and-cement is the traditional site-mixed render: sharp sand and Portland cement, usually with lime or a plasticiser for workability. The first coat is scratched or combed so the second has something to grip, and the finishing coat is floated flat or lightly textured before being painted. Factory-made base coats such as K Rend's do the same job with a consistent mix; its UF bases go on at 8-10mm and are straightened with a darby before a light key is formed.
Cement render suits sound brick and block. It is less forgiving on old soft brick or stone. SPAB's advice is that cement is more rigid than such walls, so fine cracks open and let water in where it cannot dry out, and that is why lime render is used on older solid masonry instead.
The edges of a single wall
Every edge needs a detail. At the corners, the render stops on a bead so it does not wrap onto brick that is staying exposed. At the bottom, a bell-cast bead keeps it clear of the DPC; K Rend warns that render bridging the DPC gives damp a path into the wall. At the top, a verge, coping or flashing should stop water running down the new face. Where an extension wall meets the house, a joint between the two structures lets them move separately without a crack forming along the junction.
K Rend also asks for work to be planned so an area of wall is not left half-done, because the join shows. On a single wall that usually means finishing the face in one day from bead to bead.
Agree exactly which wall is rendered and where each edge stops.
Clean the wall, rake out loose mortar and replace damaged bricks or blocks.
Fix beads at corners, reveals, the base and any junction with another structure.
Dampen absorbent brick and apply the first coat; key it and let it firm.
Apply the finishing coat across the whole face in one session.
Paint or seal as specified once the render has cured.
Garages, outbuildings and walls next door
A detached garage or outbuilding wall is often single-skin and exposed on both faces, so it stays wetter than a house wall and the coping or verge matters more. Check the roof edge and gutter before rendering; a render coat cannot stop water pouring down from a missing gutter. If the wall is shared with a neighbour, or the scaffold has to stand on their side, agree it in writing first.
New blockwork on a rear extension needs to be dry, clean and finished with flush joints before it is rendered, and any wet patches from the build should be allowed to dry out. Concrete lintels and floor-slab edges in the same face draw water differently from the blocks, so a meshed base coat is often used across those mixed areas to reduce the chance of cracks following the changes in background.
Common questions
Will one rendered wall look odd beside brick?
It depends on where it stops. A gable or side wall that ends at clean corner beads usually reads as a deliberate change of material. A render that stops part-way across a face, or wraps a little way round a corner, looks unfinished. Decide the edge before the work starts.
Does a rendered wall need painting straight away?
A sand-and-cement wall is painted once it has dried and cured, following the paint maker's guidance, and repainted every few years. A through-coloured render needs no paint at all, which is the main reason it is chosen for single walls that are awkward to reach.
See housing and planning information for Rotherham and nearby places, including the source and geography behind each figure.